


Prerequisites
- Basic knowledge about IT / OT, Azure and the difference between symmetric and asymmetric encryption
- You should have one instance of IoT Hub running and one device created with asymmetric encryption. You can follow our tutorial for setting up Azure IoT Hub.
- By default Microsoft recommends using symmetric encryption as it is more easier to implement, but they say themselves that asymmetric encryption is more secure. If you are using symmetric encryption (Username / Password authentication, no certificates) there might be some steps that are different for you
- All information for your Azure IoT Hub device ready:
- Hostname of the Azure IoT Hub: e.g., contoso-test.azure-devices.net
- Device ID: e.g., factory3
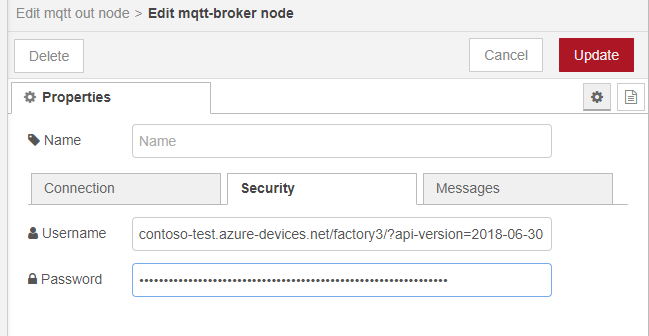
- (symmetric) Username: e.g., contoso-test.azure-devices.net/factory3/?api-version=2018-06-30
- (symmetric) Password / SAS Token: e.g., SharedAccessSignature sr=contoso-test……
- (asymmetric) Certificate files
- Furthermore, we recommend having access to Azure IoT Hub using the Azure Device Explorer (download required) to verify whether the connection worked.
Option 1: using Node-RED
Advantages:
- quick
- easy
Disadvantages:
- can be unreliable, e.g., when the user accidentally adds an unstable external plugin, which takes down Node-RED
- does not buffer data in case of internet outages
️We will do this in four steps. You can also download our example flows.json, where you just need to change your authentication parameters (certificates or username / password, host, etc.) and you are ready to go.
Step 1: Subscribing to all messages
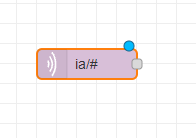
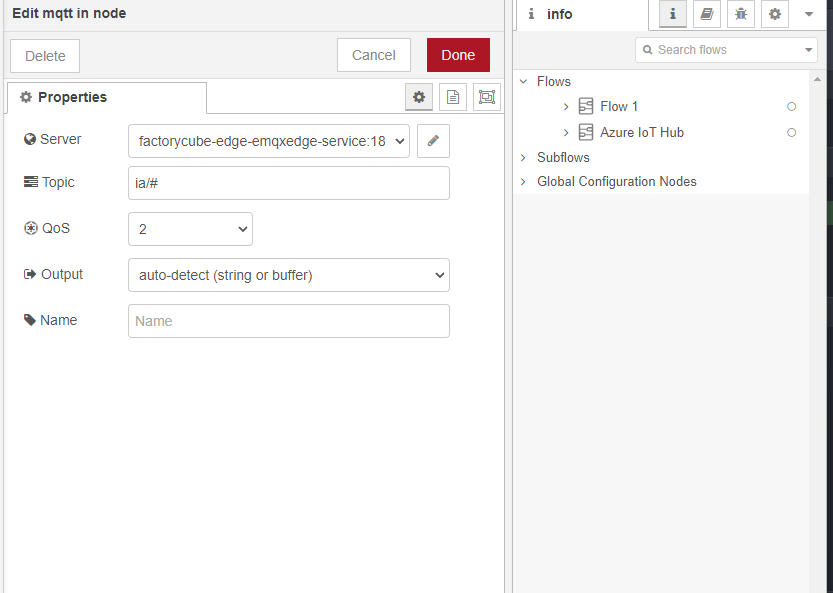
As a first step we take all relevant data out of the MQTT broker and thereby starting a Node-RED flow. Add a MQTT-In node. The MQTT broker details should already been set if you have used our recommended installation method (see also Getting Started).
In the Topic section you can specify what messages from which asset you want to send to Azure IoT Hub using wildcards. If you want to send all messages you can use ia/# as a topic. If you just want to send process values of all machines in plant3 of customer factoryinsight you can use:
ia/factoryinsight/plant3/+/processValue
You can test the flow by adding a debug node and connecting it the MQTT-In node with it.
Step 2: Changing the payload to contain payload and topic
Azure by default does not support the topic structure of the United Manufacturing Hub. As it contains important infortmation, e.g., the asset that the message is about, we will put that into the payload as well.
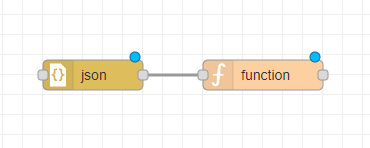
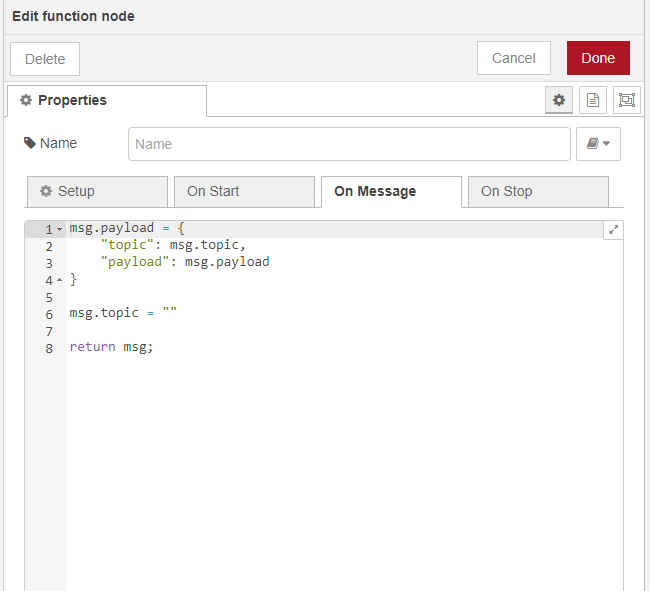
Add a json node AND a function node with the following content and connect it to the MQTT-In node that we previously created:
msg.payload = {
    "topic": msg.topic,
    "payload": msg.payload
}
msg.topic = ""

return msg;
Verify by connecting it with the debug node.
Step 3: Sending the data to Azure IoT Hub
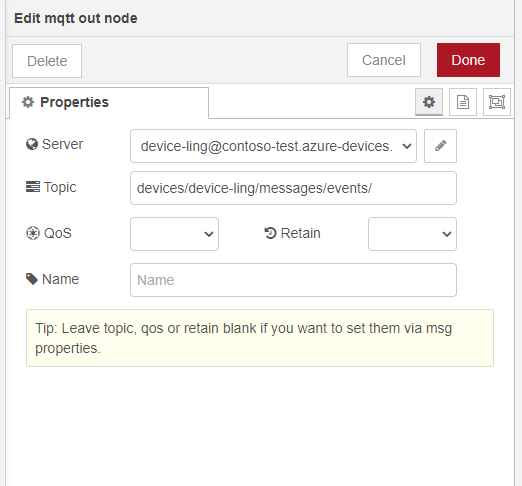
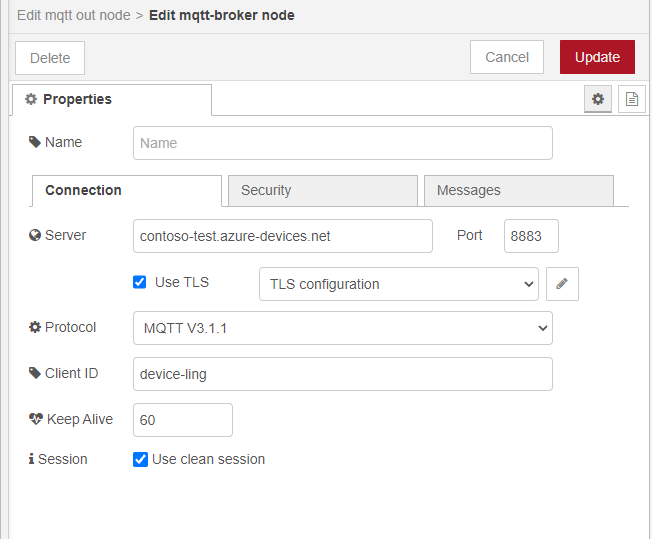
We recommend following the steps in the article Connecting Node-Red to Azure IoT Hub using MQTT nodes from Nikhil Kinkar. He is using symmetric encryption. For asymmetric encryption edit the TLS configuration and upload there your certificates.
You should have the connection parameters (username, host, port, etc.) already available, if not go to Prerequisites
If necessary: as root CA you need to use the Baltimore CyberTrust Root
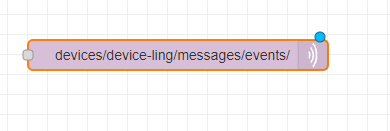
Do not forget to set the topic as well (see also the tutorial above):
Connect it with the previously created function node and test it. If everything went well the messages should now appear in the device explorer in Azure IoT Hub.

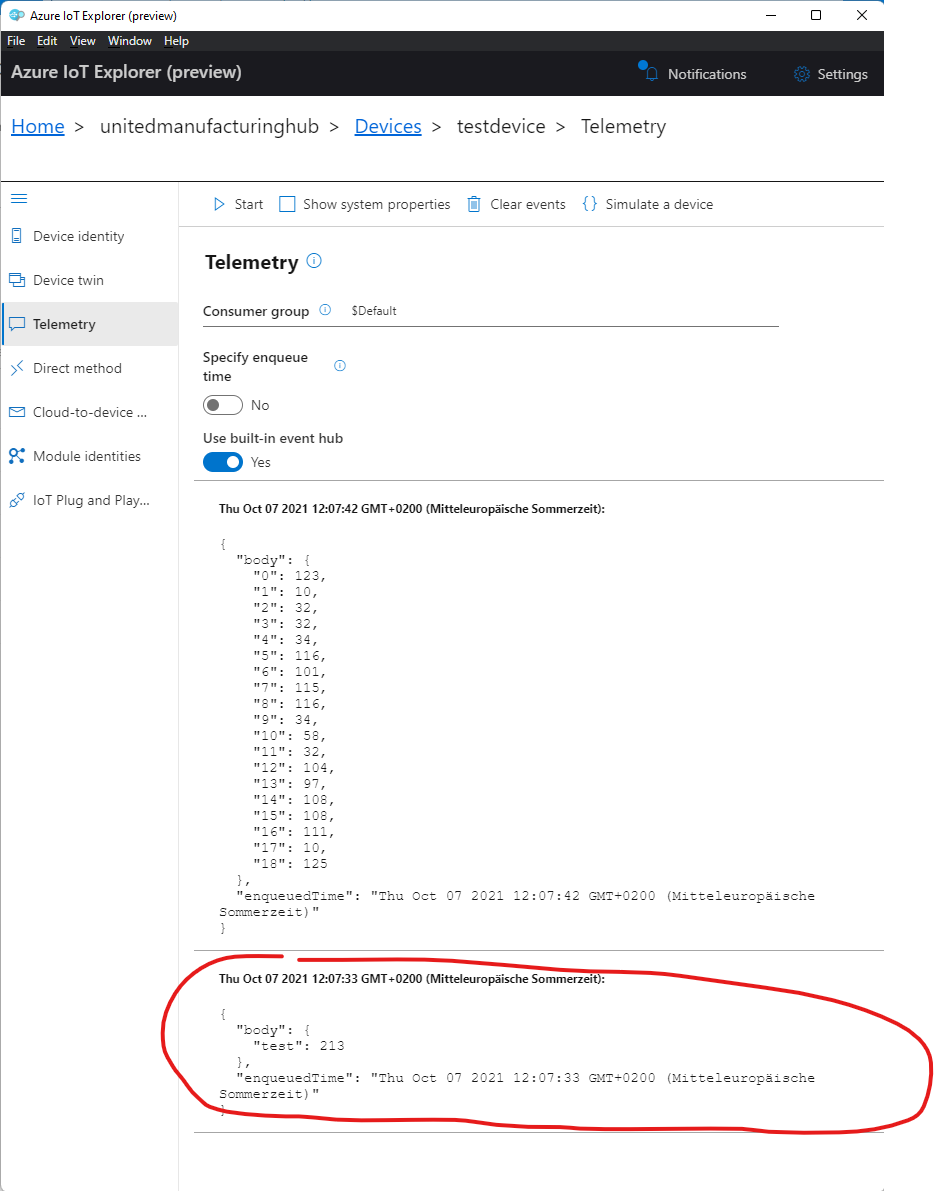
Step 4: check whether the messages appear in Azure IoT Hub using the device explorer
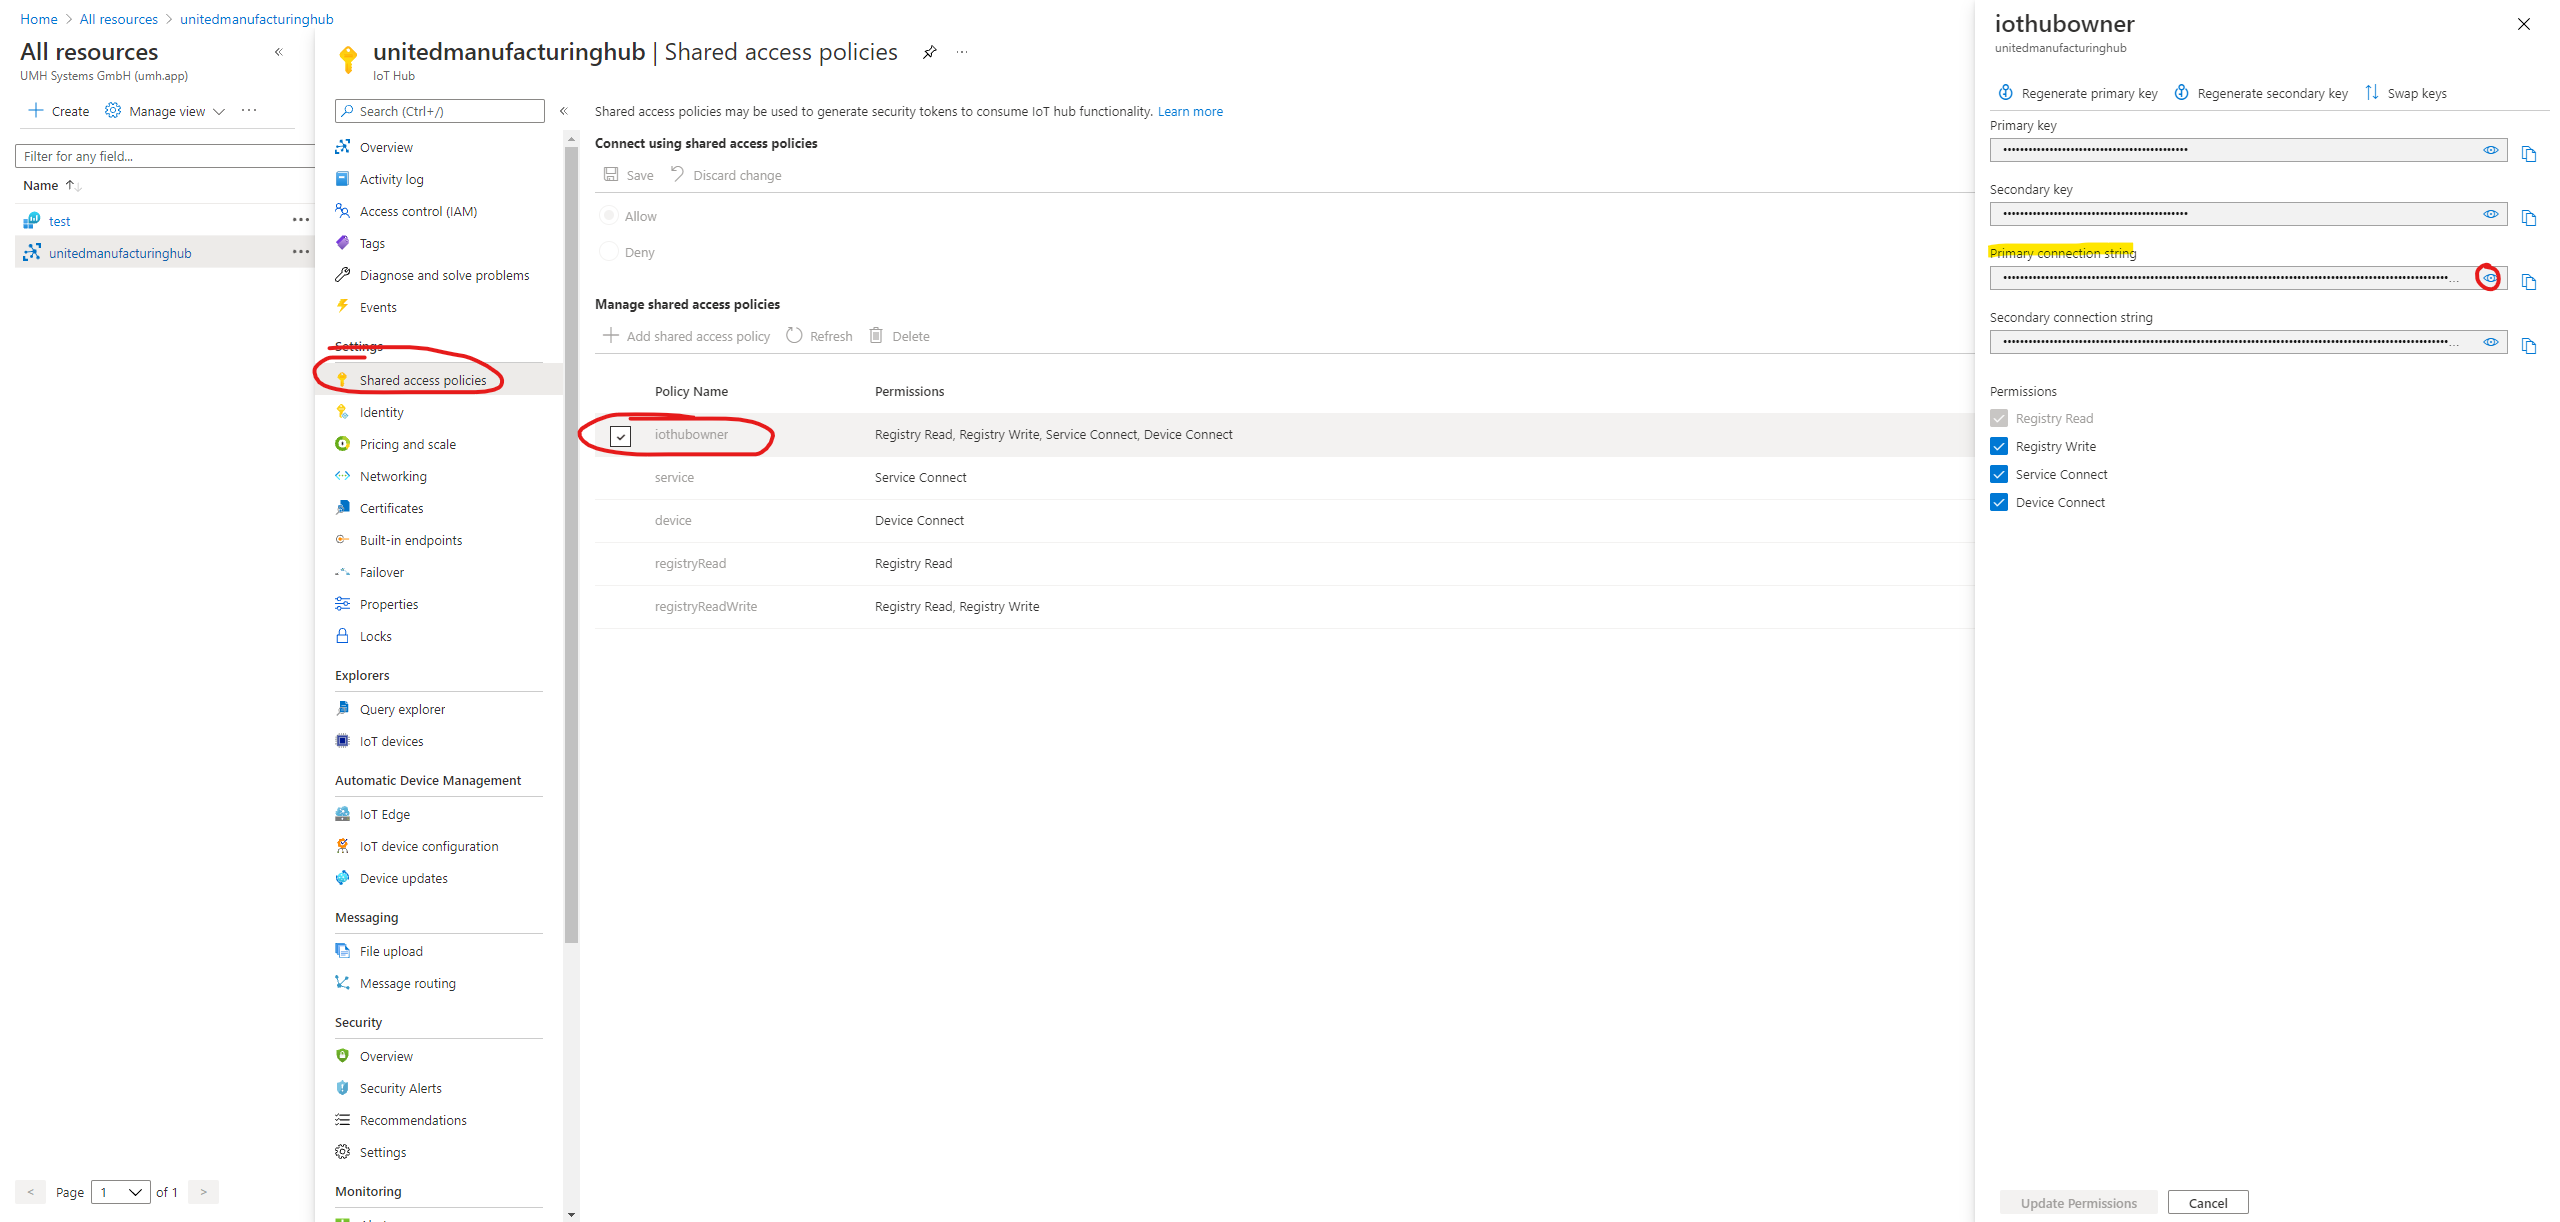
Open the Azure IoT Explorer and connect using your iothubowner SAS token (see image above). If everything went well you should see messages coming up (assuming that there are messages in the local MQTT broker. If not, try to send some debug messages to test the connection).
For more information about how to use the Azure IoT Explorer, take a look into the official documentation
Option 2: using mqtt-bridge
Currently specifying the username, which is required for Azure IoT Hub, is still in development. See also GitHub issue #569 for more information
Advantages:
- most reliable solution
Disadvantages:
- requires slightly more time than option 1
In the setup script or in the Helm chart adjust the following values with the corresponding certificates:
- mqttBridgeCACert
- mqttBridgeCert
- mqttBridgePrivkey
As mqttBridgeCACert you need to use the Baltimore CyberTrust Root
Furthermore, please set username, host, port, etc. accordingly
If you do not know where to get the certificates or the connection parameters, please go back to Prerequisites
What to do now?
Now we send the data to Azure IoT Hub. But what to do now? Here are some ideas:
- You could install the United Manufacturing Hub on Azure Kubernetes Service. You would then be able to immediately start creating dashboard while leveraging Azure’s scalability
- You could use Azure’s propertiary services to create a full IIoT infrastructure from scratch. However, this is time intensive as you need to build e.g., your own data model, so we only recommend it for large companies with their own IIoT team. A good next step to proceed from here would be the tutorial Add an IoT hub event source to your Azure Time Series Insight environment


