


⚠️
Please note that k3OS is deprecated. We recommend switching to flatcar instead.
Here is a step-by-step guide on how to install the UMH stack in a virtual machine on your local system. This is the starting point if you just want to try out our product and see what it is capable of, or you are developing a new feature and want to test it before opening a pull request.
If you want to deploy UMH to production see how to Deploy the full UMH stack onto an edge PC.
Host machine requirements
- Operating system (64-bit):
- Windows 8.1, 10, 11
- Mac OS X 10.13 (High Sierra), 10.14 (Mojave), 10.15 (Catalina)
- Linux Ubuntu 18.04+, Debian 9+, CentOS/RHEL 6+, Oracle 6+, Fedora 30+, Gentoo, Arch, openSUSE Leap 15.1, or any other system based on Linux Kernel 2.6, 3.x, 4.x, 5.x
- Hardware:
- CPU: 2 cores or more
- RAM: 8GB or more
- Storage: 10GB free
Installation
1. Create virtual machine
- Download and install your preferred hypervisor. We suggest VirtualBox, and you can download it here.
- Download the latest version of K3OS here. Pay attention to download the file named
k3os-amd64.iso. - Open VirtualBox and press New.
- Give your machine a name, like
umh, typeLinuxand VersionOther Linux (64-bit). Press Next. - Insert
4096MBas the value for the quantity of RAM. You may need more if you decide to customize the services with thedevelopment.yamlfile. - Select
Create a virtual disk nowand click on Create. - Select
VDI (VirtualBox Disk Image)and press Next. - Select
Dynamically allocatedand press Next. - Give it
10,00 GBand press Create. - Go into Settings and navigate in the Storage section.
- Press the blue disk icon on the right of
Controller: IDE. Then press Add. Navigate through your filesystem to locate the ISO file you downloaded earlier and add it. - Optional: if you customized the
development.yaml, check whether you have to increase the CPU power, in which case navigate in System section and select the Processor tab. Then increase the number of CPUs to 4.
0:00
/
2. Setup k3os
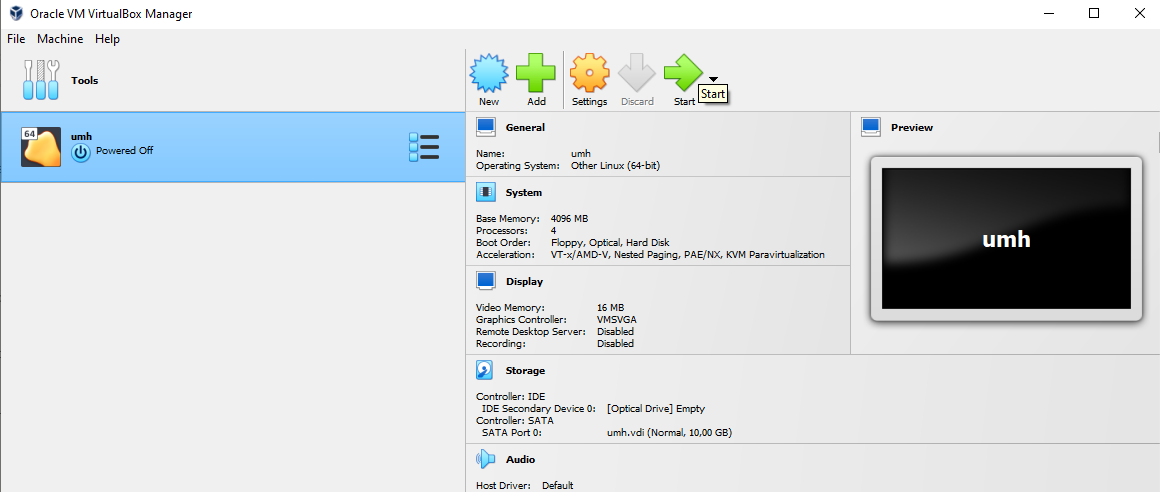
- Start the virtual machine by pressing the green arrow button and wait for the initialization.
- Type the username rancher and press Enter.
- Type
sudo k3os installand press Enter to begin the system installation. - Choose the option 1 and press Enter to install to disk.
- Type y and press Enter to configure the system with a cloud-init file.
- Type https://umh.app/development.yaml and press Enter.
- Type y to format the disk and proceed with the installation.
- At the end of the installation the virtual machine will reboot automatically. Once you get to a screen similar to the one at step 4, write donw your IPv4-Adress(right under the k3os-logo) and navigate into the menu Machine > ACPI Shutdown.
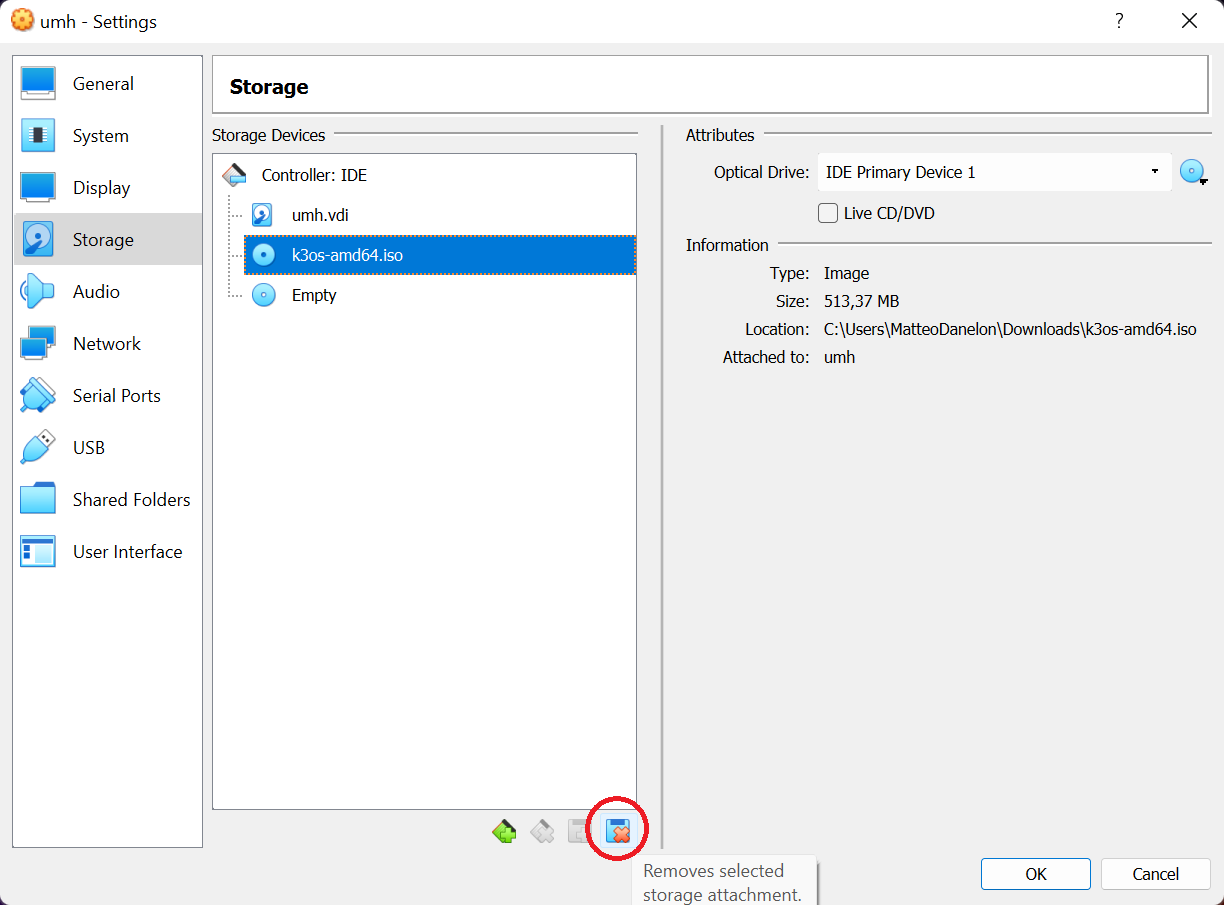
- Press the yellow gear button to open the virtual machine settings and navigate into the Storage section. Select
k3os-amd64.isoand press the remove button.
3. Setting up NAT-Network
- Go back to Tools on the left of VirtualBox and navigate to Network
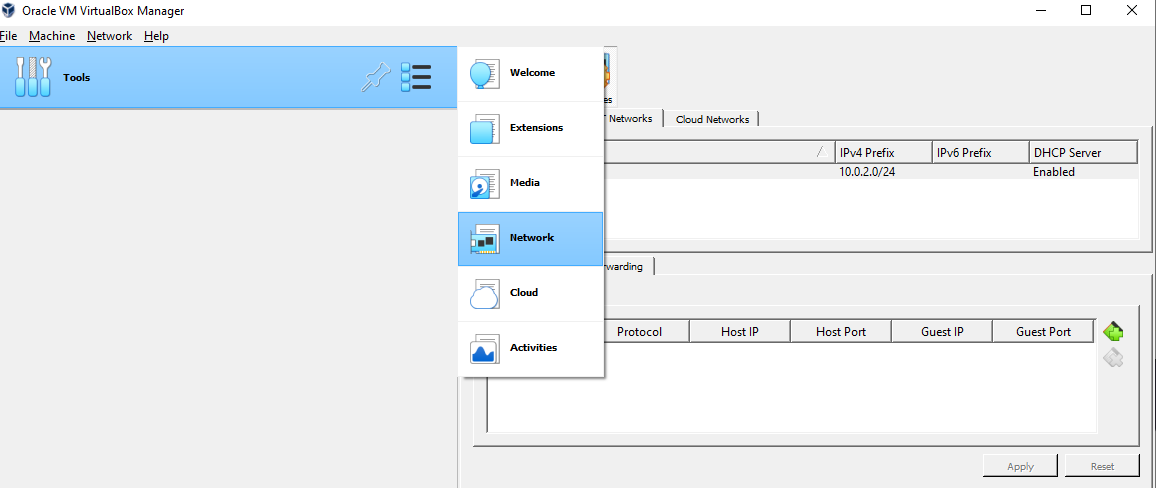
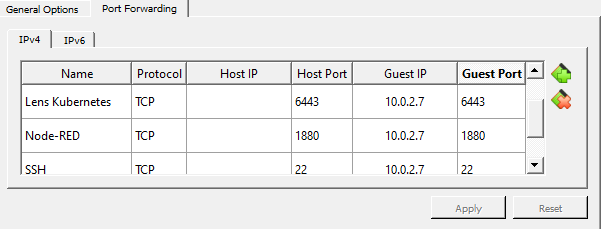
- Press Create on the top left and after installation navigate to NAT-Networks → Port-Forwarding.
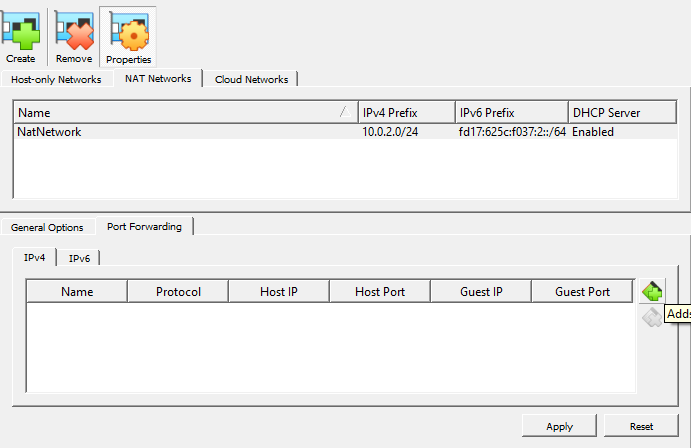
- Press under IPv4 Add new port Forwarding rule and add the following rules:
Type in for example Name: Node-RED → Host-Port:1880 → Guest-IP:Your IPv4-Adress which you have written down → Guest-Port:1880 → then press Apply.
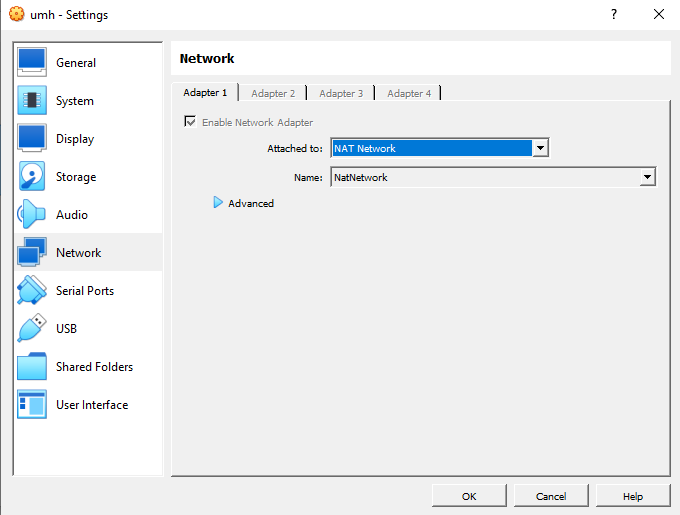
- Restart VirtualBox and go again into your VM-Settings. In the network section open the Attached to drop down menu and select the NAT-Network option. Finally, press the OK button.
- Start your VM by pressing start.
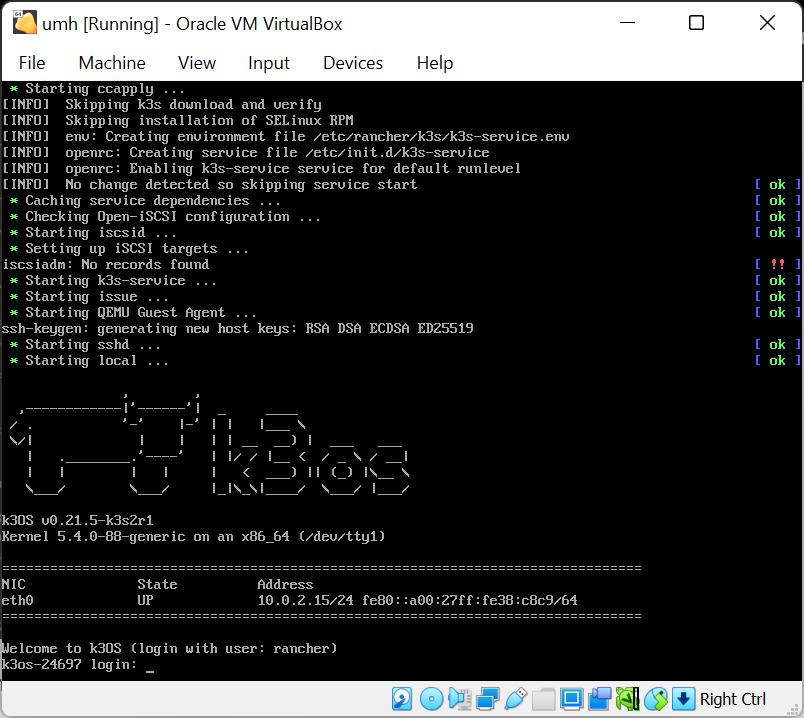
- You should now see the login for k3os. Make sure that the IPv4-Address(located under Address right under the k3os-logo) is still the same as the one you have written down. If it is not the same shut down your VM (Machine →ACPI-Shutdown) and replace the old IPv4 in Portforwarding→ Guest-IP and restart Virtual-Box. Repeat step 7.
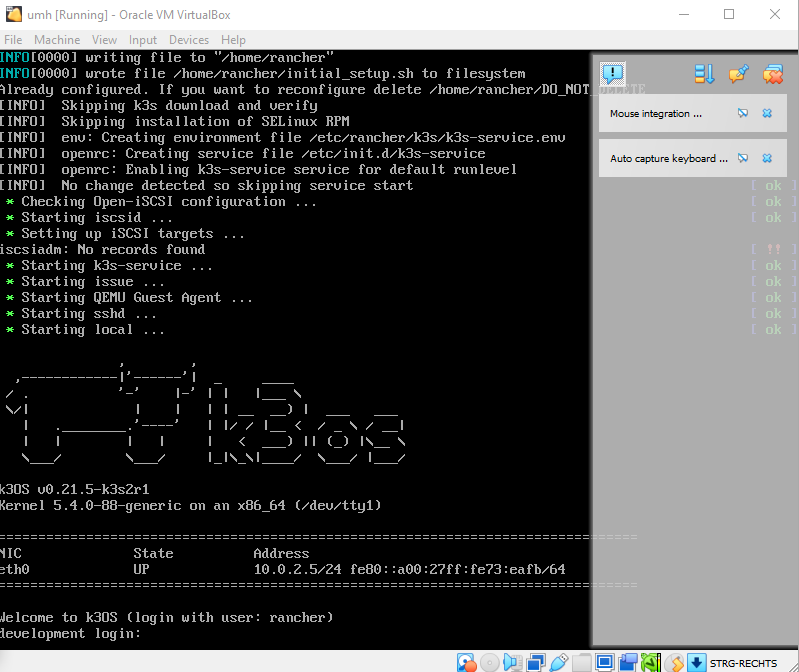
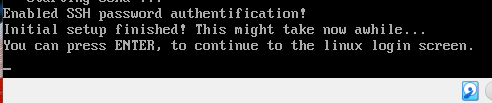
- If the IPv4-Address is the same or you have replaced the old one(check step above) you can login with the Username and Password rancher. Then wait until the UMH stack installation is ready and something like shown below is showing up. Press Enter.
If you want to connect to your microservices make sure to type in localhost in place of the ipv4 address e.g. localhost:1880/nodered
4. Connecting via SSH
ℹ️
See also "Connecting via SSH"
5. Getting Kubernetes credentials and setting up UMHLens
ℹ️
See also "Adding UMH Helm repo"


